
nginx一台机器部署多个子域名的反向代理(http协议)
配置nginx创建conf/vhost/common.conf内容如下:upstream gitlab{ #&
配置nginx
创建 conf/vhost/common.conf
内容如下:upstream gitlab{ # 端口对应 gitlab 配置中的 nginx['listen_port'](外部Nginx反向代理Gitlab内部Nginx) server localhost:8092; } upstream owms{ #owms监听的端口 server localhost:91; } upstream blog{ #blog监听的端口 server localhost:96; } server{ listen 80; # 匹配浏览器输入的域名前缀(如owms.py-php.cn,则域名前缀为:owms) server_name ~^([^.]+)?\.?py-php.cn; set $name $1; set $condition 0; if ($name = '') { set $condition 1; } if ($name = www) { set $condition 1; } if ($condition = 1) {#把www.py-php.cn或者py-php.cn都转发到blog上 set $server blog; } if ($condition != 1) {//其他,转发到$1上.例如gitlab.py-php.cn转发到gitlab(对应upstream gitlab这里的值) set $server $1; } location / { proxy_pass http://$server #$server就是前面设置的值 #以下是一些反向代理的配置可删除 proxy_redirect off; #后端的Web服务器可以通过X-Forwarded-For获取用户真实IP proxy_set_header Host $host; proxy_set_header X-Real-IP $remote_addr; proxy_set_header X-Forwarded-For $proxy_add_x_forwarded_for; client_max_body_size 10m; #允许客户端请求的最大单文件字节数 client_body_buffer_size 128k; #缓冲区代理缓冲用户端请求的最大字节数 proxy_connect_timeout 300; #nginx跟后端服务器连接超时时间(代理连接超时) proxy_send_timeout 300; #后端服务器数据回传时间(代理发送超时) proxy_read_timeout 300; #连接成功后,后端服务器响应时间(代理接收超时) proxy_buffer_size 4k; #设置代理服务器(nginx)保存用户头信息的缓冲区大小 proxy_buffers 4 32k; #proxy_buffers缓冲区,网页平均在32k以下的话,这样设置 proxy_busy_buffers_size 64k; #高负荷下缓冲大小(proxy_buffers*2) proxy_temp_file_write_size 64k; #设定缓存文件夹大小,大于这个值,将从upstream服务器传 } }创建 conf/vhost/owms-web_91.conf
内容如下:
server {
        listen        91;
        server_name  xxx.cn;
        root  /local/apache/htdocs/xiangmu/owms-web/public;
        location / {
            index index.php index.html error/index.html;
            #这个if是用来去掉index.php的
            if (!-e $request_filename) {
             rewrite ^(.*)$ /index.php?s=/$1 last;
             break;
            }
            autoindex  off;
        }
        location ~ \.php(.*)$ {
            fastcgi_pass   127.0.0.1:9000;
            fastcgi_index  index.php;
            fastcgi_split_path_info  ^((?U).+\.php)(/?.+)$;
            fastcgi_param  SCRIPT_FILENAME  $document_root$fastcgi_script_name;
            fastcgi_param  PATH_INFO  $fastcgi_path_info;
            fastcgi_param  PATH_TRANSLATED  $document_root$fastcgi_path_info;
            include        fastcgi_params;
        }
}
其它,仿照上面搞一个出来就行。配置好后,记得重启nginx。
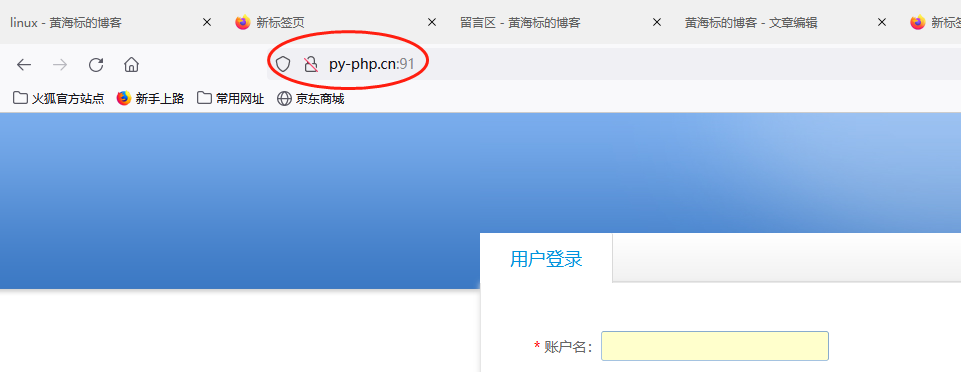
效果
先用91端口访问(也就是我们直接配置的),效果如下
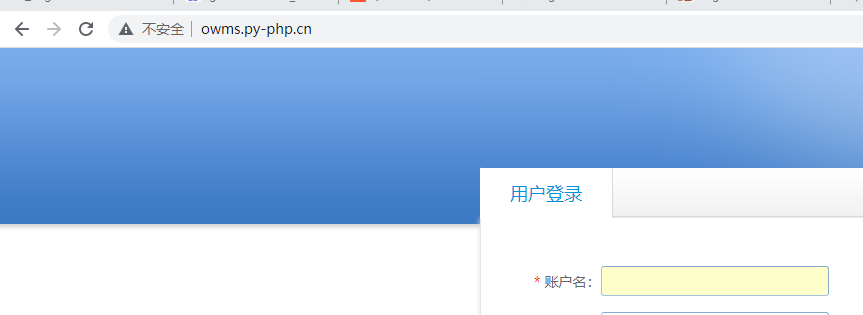
再用子域名:owms.py-php.cn访问.
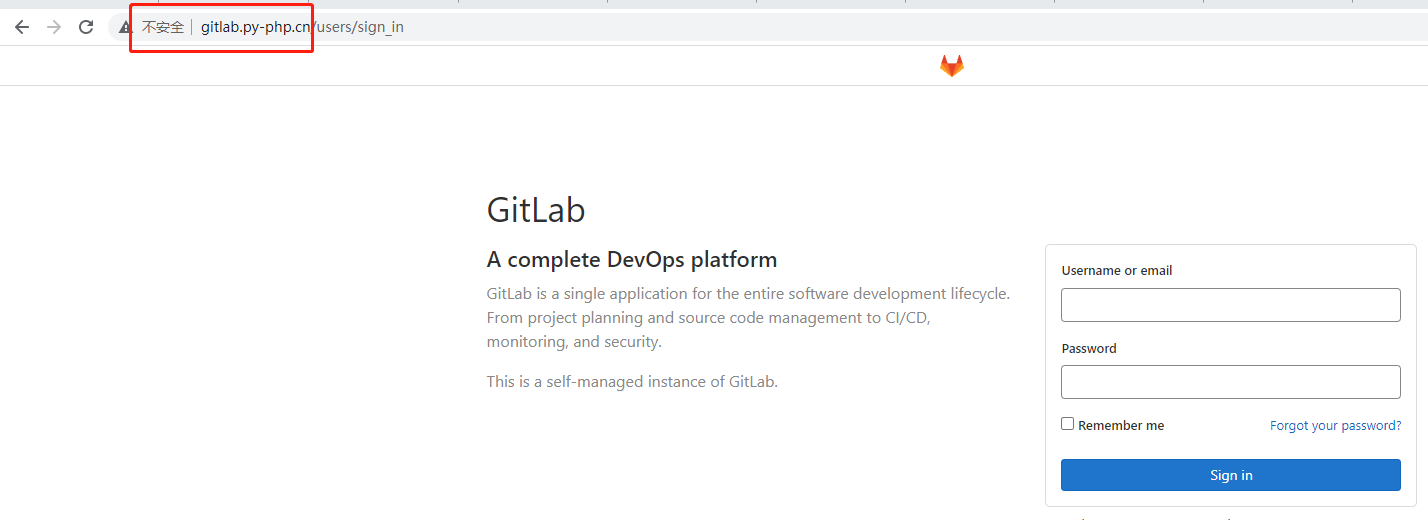
再访问gitlab.py-php.cn,效果如下
这样我们就可以用子域名访问指定的应用,而不需要用域名+端口的形式访问。


